Dynamic DNS (DDNS) for NAS Server with VietnamDDNS
Setting up a Dynamic DNS (DDNS) for your NAS server using VietnamDDNS involves several steps to ensure that your NAS server is accessible remotely, even when your Internet Service Provider (ISP) changes your public IP address. Below is a detailed step-by-step guide to configure DDNS for a NAS server with VietnamDDNS.
Step 1: Understand the Role of DDNS
Dynamic DNS allows you to map a domain name (e.g., mynas.vietnamddns.com) to the dynamic public IP address assigned by your ISP. This ensures that you can access your NAS server remotely without needing to manually update the IP address every time it changes.
VietnamDDNS is a free service that provides DDNS functionality, making it suitable for users who need remote access to their devices.
Step 2: Create an Account on VietnamDDNS
- Visit the VietnamDDNS website.
- Register for an account by providing your email address and creating a password.
- Verify your email address through the confirmation link sent to your inbox.
- Log in to your VietnamDDNS account after verification.
Step 3: Add a Hostname
- Once logged in, navigate to the “Add Host” or “Create Hostname” section.
- Enter a desired hostname (e.g.,
mynas) and select one of the available domain names provided by VietnamDDNS (e.g.,vietnamddns.com).- Your full hostname will look like
mynas.vietnamddns.com.
- Your full hostname will look like
- Set the record type as “A” (Address Record), which maps the hostname to an IPv4 address.
- Initially, set the IP address field to your current public IP address (you can find this by searching “What is my IP” on Google).
- Save the settings.
Step 4: Configure DDNS on Your NAS Server
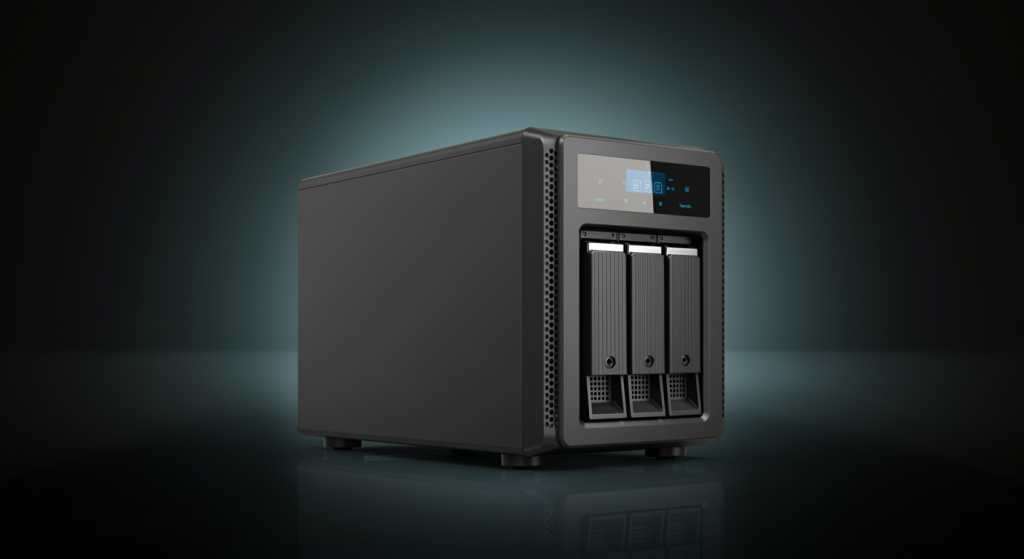
Most modern NAS servers, such as Synology or QNAP, have built-in support for configuring DDNS services.
For Synology NAS:
- Log in to DSM (DiskStation Manager) via its web interface.
- Go to Control Panel > Connectivity > External Access.
- Click on the DDNS tab and then click Add.
- In the “Service Provider” dropdown menu:
- If VietnamDDNS is listed as an option, select it directly.
- If not listed, choose “Custom” or “User-defined.”
- Fill in the required fields:
- Hostname: Enter the full hostname you created earlier (e.g.,
mynas.vietnamddns.com). - Username/Email: Enter your VietnamDDNS account username or email.
- Password: Enter your VietnamDDNS account password or API key if applicable.
- Hostname: Enter the full hostname you created earlier (e.g.,
- Test the connection by clicking on “Test Connection.”
- If successful, save the configuration.
For QNAP NAS:
- Log in to QTS or QuTS Hero via its web interface.
- Navigate to Control Panel > Network & Virtual Switch > DDNS Settings.
- Click on Add and select VietnamDDNS from the list of providers or add it manually under custom settings if not listed.
- Provide similar details as mentioned above for Synology:
- Hostname
- Username/Email
- Password/API Key
- Test and save the configuration.
Step 5: Update Public IP Automatically
VietnamDDNS provides an API endpoint for updating your public IP dynamically whenever it changes.
Using Built-in Tools on Your Router/NAS:
- Many routers and NAS devices support custom scripts or configurations for updating DDNS records automatically using APIs provided by services like VietnamDDNS.
Using Custom Scripts:
If needed, you can create a script that runs periodically on a device within your network (e.g., Raspberry Pi or computer). The script should send an HTTP request with authentication details to update your public IP with VietnamDDNS’s API endpoint.
Example cURL command:
curl -X GET 'http://vietnamddns.com/api/update?hostname=mynas.vietnamddns.com&myip=YOUR_PUBLIC_IP' \
     --user 'username:password'
Replace YOUR_PUBLIC_IP, username, and password with appropriate values.
Schedule this script using cron jobs or task schedulers so it runs at regular intervals.
Step 6: Verify Remote Access
- After completing all configurations, test accessing your NAS server remotely using its new hostname (e.g., https://mynas.vietnamddns.com).
- Ensure port forwarding is correctly configured on your router so that requests sent to specific ports are forwarded to your NAS server’s internal IP address.
- Common ports include 5000/5001 for Synology DSM and 8080/443 for QNAP QTS.
- Use tools like Ping or DNS Checker to confirm that
mynas.vietnamddns.com resolves correctly to your current public IP address.
Step 7: Secure Your Connection
To enhance security while accessing your NAS remotely:
- Enable HTTPS access by installing an SSL certificate from Let’s Encrypt or another trusted Certificate Authority directly through DSM/QTS settings.
- Change default ports used by DSM/QTS interfaces and SSH services if possible.
- Use strong passwords and enable two-factor authentication where supported.
Top 3 Authoritative Sources Used in Answering this Question
- VietnamDDNS Official Website
The official website provides direct information about registering accounts, creating hostnames, and utilizing their API services for dynamic DNS updates (VietnamDDNS). - Synology Knowledge Base
Synology’s official documentation offers detailed guidance on configuring DDNS services within DiskStation Manager (DSM), including custom provider setups (Synology Knowledge Base). - QNAP Help Center
The QNAP Help Center explains how users can configure DDNS settings within their QTS/QuTS Hero operating systems (QNAP Help Center).